Building a repair bench: mat, light, magnet tray and somewhere for screws

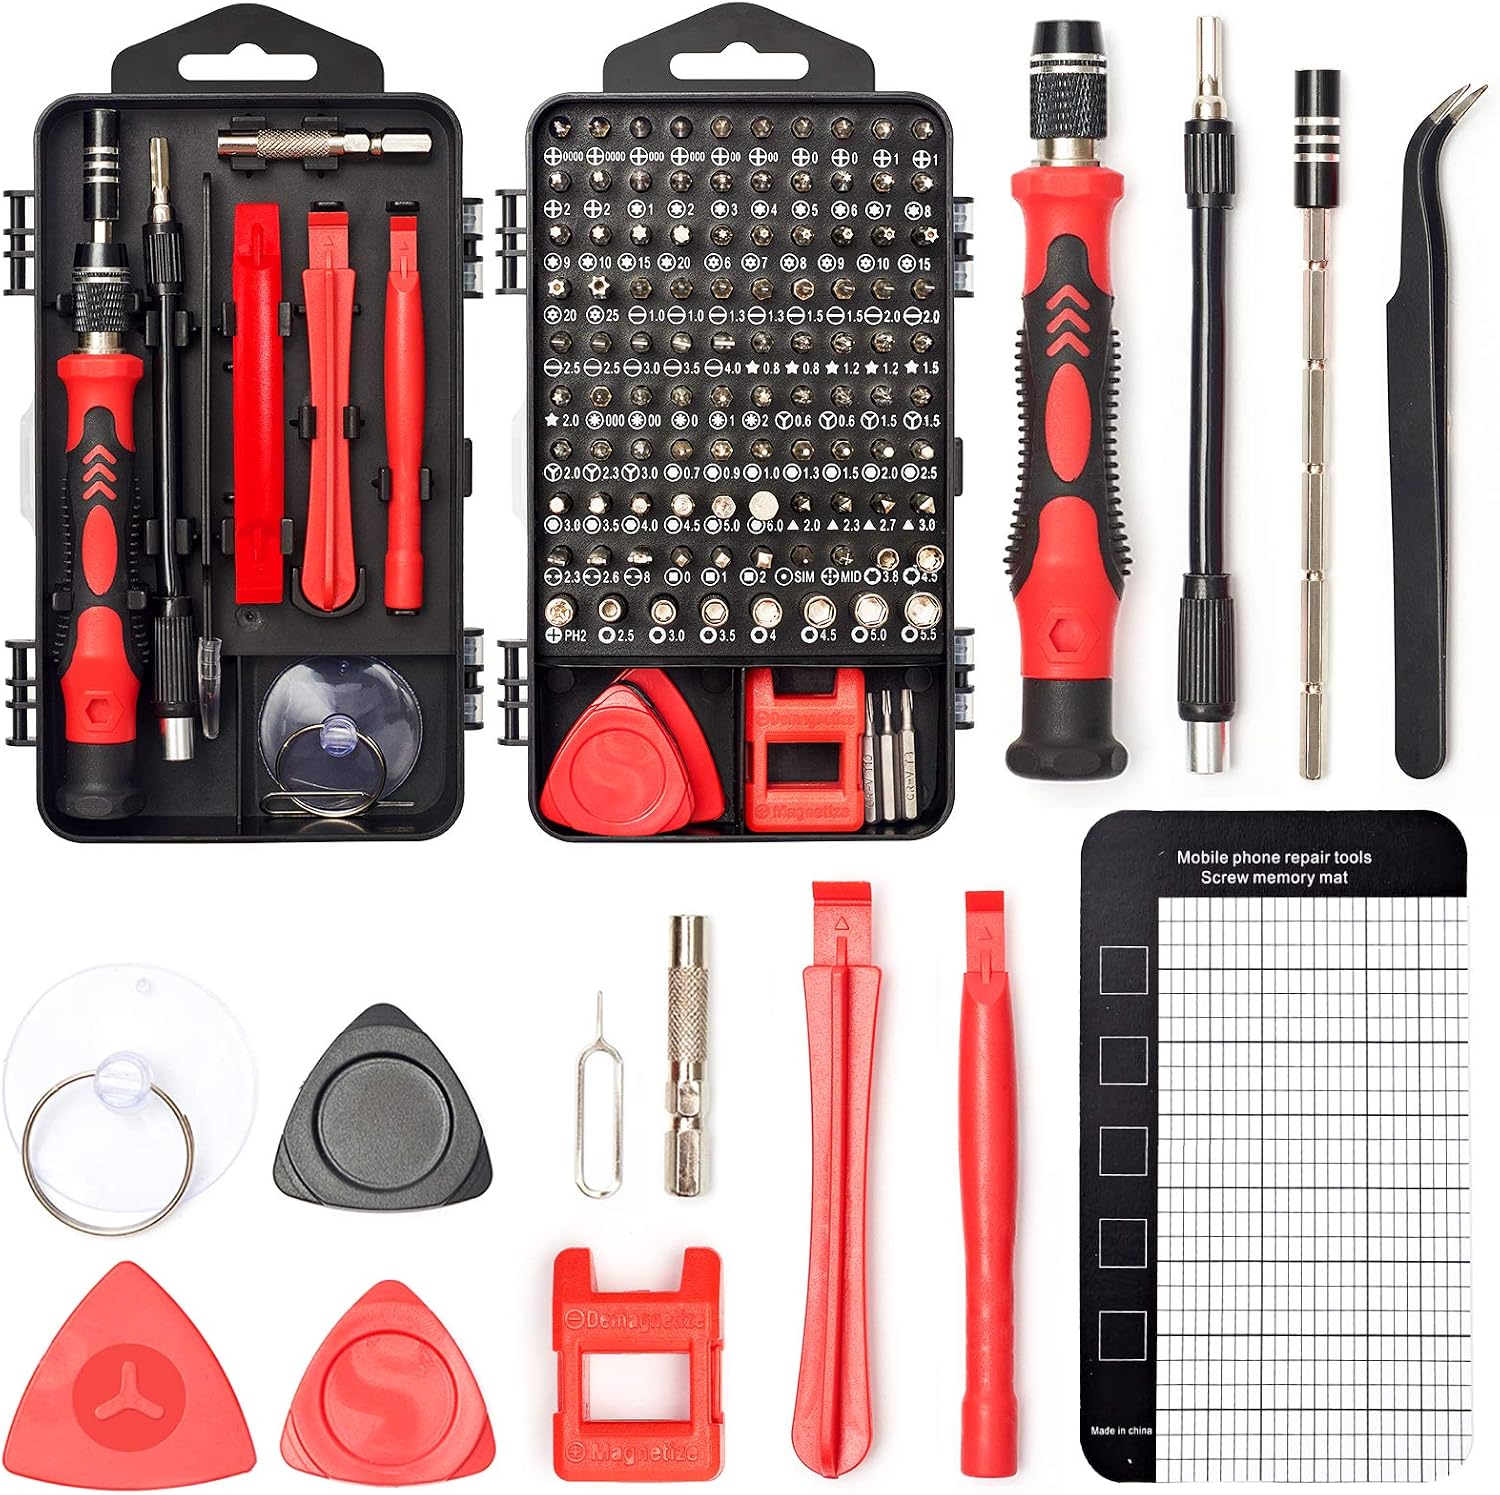
Embarking on a repair project, whether it’s a beloved vintage console, a malfunctioning laptop, or a custom PC build, can be immensely satisfying. However, the difference between a triumphant success and a frustrating mess often lies not just in your skill, but in the quality of your workspace. A dedicated, well-organised repair bench transforms a daunting task into an enjoyable process, saving time, reducing stress, and ultimately leading to better outcomes for your delicate electronics.
Far too many hobbyists and even seasoned technicians underestimate the profound impact a properly equipped bench has on their work. Imagine searching for a minuscule screw that rolled off the table, or worse, damaging sensitive components due to static discharge. These common pitfalls are easily avoidable with a thoughtful setup. This guide will walk you through the essential elements for building a repair bench that is efficient, safe, and conducive to precision work, ensuring your projects run smoothly from start to finish.
The Foundation: Selecting Your Workbench
The very first step in building an effective repair bench is choosing the right surface. Your workbench needs to be sturdy, stable, and appropriately sized for the tasks you anticipate. A wobbly table can make precise work incredibly difficult, and a cramped space quickly becomes a source of frustration. Consider a bench with a solid wood or heavy-duty laminate top, as these materials offer good durability and can withstand the occasional bump or scratch without compromising the surface integrity.
When assessing size, think about the largest item you’ll likely be working on and then add ample room for your tools, components, and perhaps a monitor for schematics or guides. Adequate depth is also crucial; you want enough space to comfortably spread out your work without feeling confined. Remember, this isn’t just a surface for placing items, but a dynamic area where you’ll be actively manipulating small parts and delicate electronics, so comfort and accessibility are paramount.
Essential ESD Protection: Your Mat
Electrostatic Discharge (ESD) is an invisible enemy of modern electronics, capable of permanently damaging sensitive components without any audible or visible indication. Protecting against ESD is non-negotiable when working on circuit boards and integrated circuits. An ESD mat is your primary defence, providing a safe, grounded surface that dissipates static electricity away from your delicate components, preventing voltage differences that can cause catastrophic damage.
These mats are typically made from dissipative materials, designed to slowly conduct static charges to ground rather than allowing them to build up or discharge rapidly. For optimal protection, ensure your ESD mat is properly connected to a common ground point, often through a wrist strap worn by the technician. Always opt for a mat large enough to cover your primary work area, allowing you to place both your component and any tools you are actively using on its protective surface.
Illuminating Your Work: Task Lighting
Precision repair work demands excellent visibility. Tiny screws, minute solder joints, and fine traces on circuit boards are nearly impossible to manage under poor lighting conditions. A good task lamp is therefore an indispensable addition to any repair bench. Look for lamps that offer adjustable brightness and colour temperature, allowing you to tailor the light to the specific task and reduce eye strain over extended periods of detailed work.
Positioning your light source is as important as its quality. Ideally, you want a lamp that can be articulated to shine directly on your work area without casting shadows from your hands or tools. Some technicians prefer a magnifying lamp, which combines illumination with magnification, making it even easier to inspect and manipulate very small components. A well-lit bench not only improves accuracy but also makes the entire repair process more comfortable and less fatiguing.
Organising Small Components: Magnetic Trays and Beyond
One of the most common frustrations in electronics repair is losing tiny screws, springs, or other small parts that seem to vanish into thin air. A magnetic parts tray is an incredibly simple yet effective solution for this problem. These trays feature a magnetised base that securely holds ferrous metal components, preventing them from rolling away or getting knocked off the bench. They are invaluable for keeping screws organised by size or type during disassembly.
Beyond Magnetic Trays
While magnetic trays are excellent for screws and small metal parts, not all components are magnetic. Consider also incorporating small compartmentalised organisers, plastic bins, or even simple non-magnetic dishes for storing non-ferrous items like plastic clips, rubber grommets, or delicate ICs removed from boards. Labelling these containers as you go can be a lifesaver, especially when dealing with multiple types of screws or similar-looking parts from different stages of disassembly.
The Right Tools for the Job: Precision Screwdrivers
Having the correct screwdriver for each fastener is paramount to avoiding stripped screw heads and damaged components. A high-quality precision screwdriver kit is an absolute must-have for any electronics repair enthusiast. These sets typically include a wide array of bits, covering common profiles like Phillips, Torx, Pentalobe, Tri-wing, and many others, often in very small sizes tailored for smartphones, laptops, and other compact devices.
Beyond just having the right bit, the quality of the screwdriver handle and the bits themselves makes a significant difference. Look for sets with comfortable, ergonomic handles that offer good grip and often a swivel cap for easy one-handed turning. Durable, precisely machined bits will last longer and reduce the risk of stripping screws, saving you potential headaches and extra work down the line. Investing in a good kit ensures you’re prepared for almost any fastener you encounter.
Ergonomics and Cable Management: Comfort and Clarity
Spending hours hunched over a repair bench can quickly lead to discomfort and strain. Prioritising ergonomics ensures you can work efficiently and comfortably for longer periods. A monitor riser, for instance, elevates your display to eye level, preventing neck strain if you’re frequently consulting schematics or guides. Good posture is key to reducing fatigue and maintaining focus during intricate tasks.
Clutter, particularly from cables, is another major impediment to an efficient workspace. Under-desk cable trays are excellent for tidying up power cords, data cables, and charging leads, keeping them off your work surface and out of your way. A clear bench not only looks more professional but also reduces the risk of snagging tools or components on unruly wires, making it easier to concentrate on the task at hand and move freely.
Advanced Setup: Soldering and Cooling Considerations
For repairs involving component replacement or circuit modification, a dedicated soldering setup is essential. Your ESD soldering mat provides a safe base, but consider adding a temperature-controlled soldering iron with various tips suitable for different component sizes. Proper ventilation is also crucial; while a full fume extractor might be an advanced purchase, even a small fan directed away from your face can help dissipate noxious fumes.
During diagnostic or testing phases, especially with PC components or other parts that generate heat, cooling fans can be surprisingly useful. A small, portable cooling fan can be directed at a specific component to keep its temperature down during extended testing, preventing overheating and potential damage. This is particularly relevant when troubleshooting motherboards or graphics cards outside of their cases, where their natural airflow is compromised. For those building custom PCs, having spare cooling fans on hand is always practical.
The Finishing Touches: Storage and Accessibility
A well-organised repair bench extends beyond the immediate work surface to include efficient storage solutions. Shelving above your bench can hold less frequently used tools, reference books, or larger components. Drawer units beneath the bench are ideal for keeping smaller tools, spare parts, and consumables neatly organised and easily accessible, preventing valuable bench space from becoming cluttered.
Component Storage
For electronic components, consider dedicated storage boxes with multiple compartments, categorised by type, value, or project. Clear containers allow for quick visual identification, saving time when searching for that specific resistor or capacitor. Maintaining a tidy and logical storage system ensures that your tools and parts are always where you expect them to be, streamlining your workflow and making every repair a more pleasant experience.
The short version
- Prioritise ESD Protection: Always use a grounded ESD mat and wrist strap to safeguard delicate electronics from static damage.
- Illuminate and Organise: Invest in quality task lighting and use magnetic trays or compartmentalised organisers to keep tiny components secure and accounted for.
- Invest in Quality Tools and Ergonomics: A comprehensive precision screwdriver kit is essential. Couple this with ergonomic aids like monitor risers and cable management to ensure comfort and efficiency.
Where to go next
Everything discussed here sits under Precision Screwdriver Kits in our shop. Delivery and returns are set out on the Shipping Policy and Refund and Returns Policy pages. If something here does not answer your question, ask us directly — we would rather talk it through than have you buy the wrong thing.